
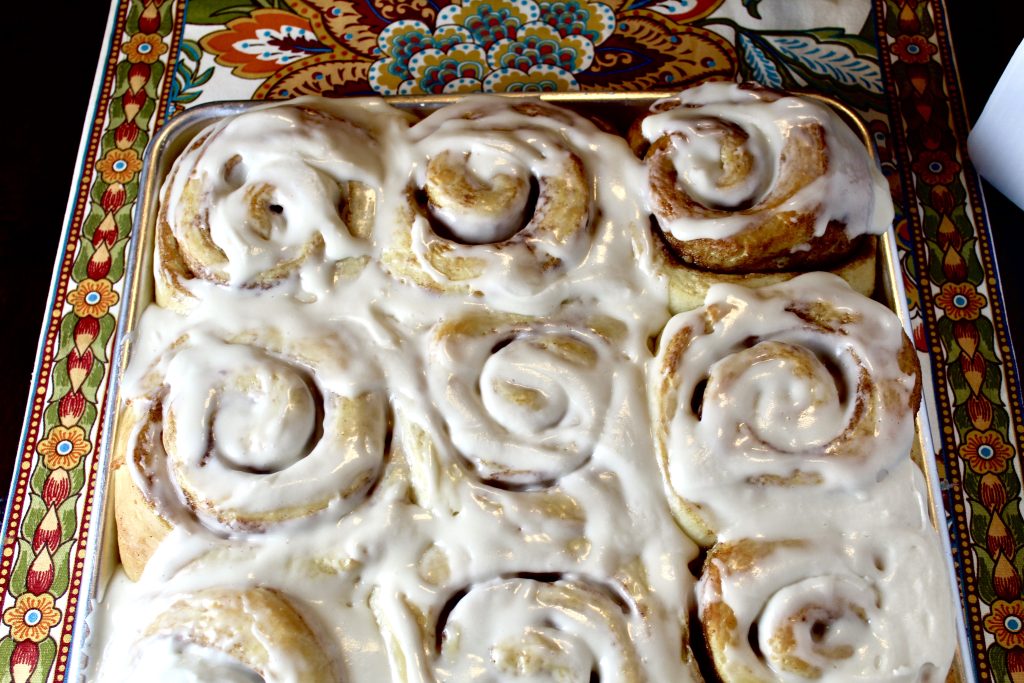
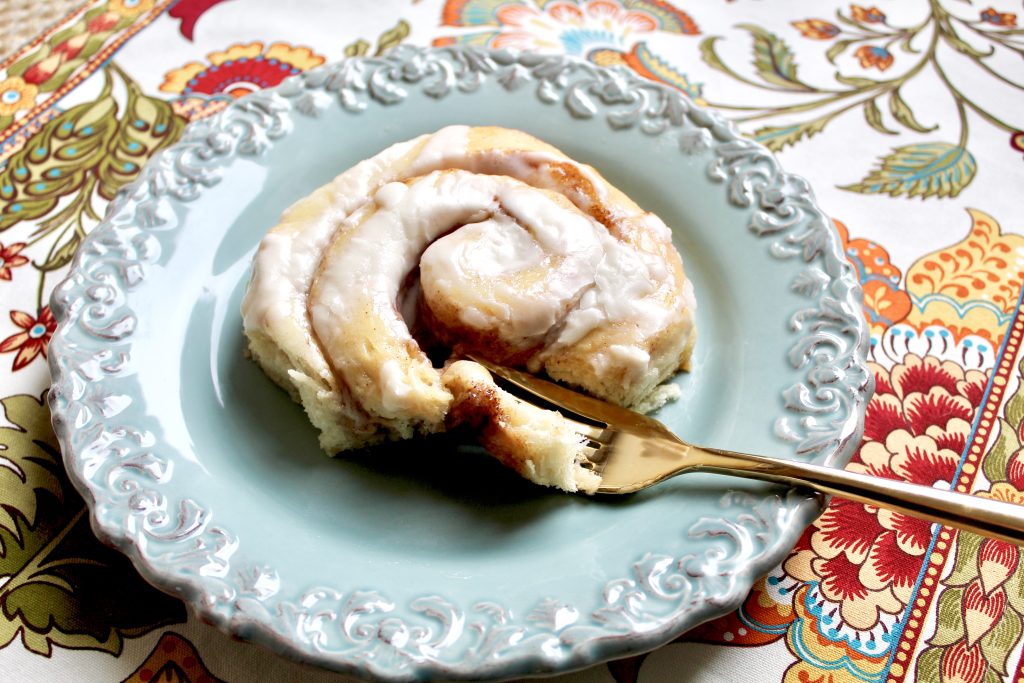
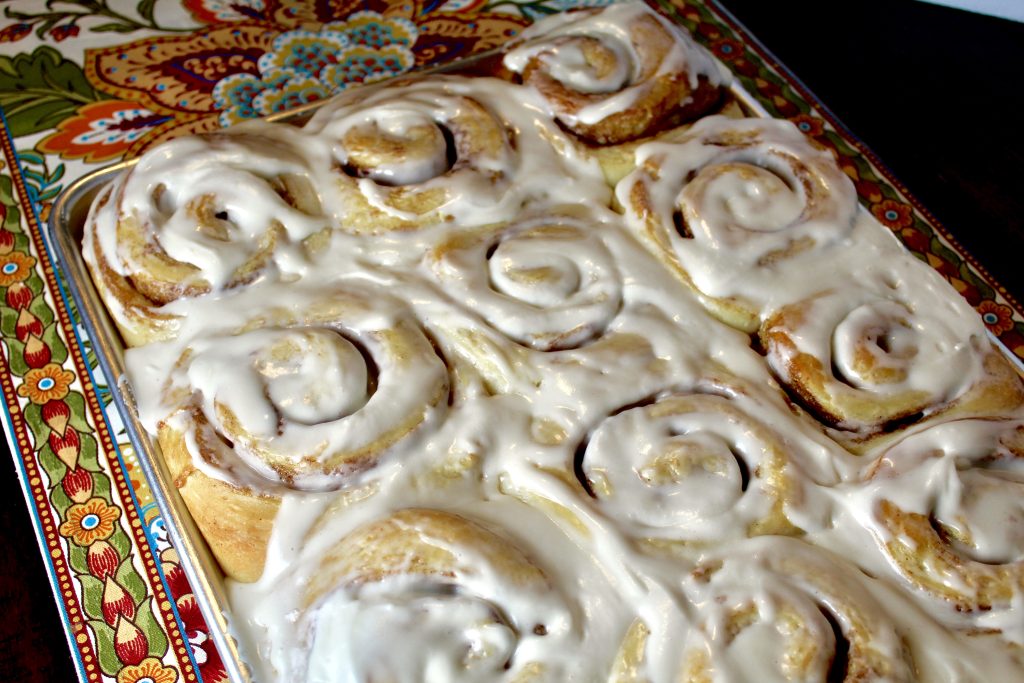
Here is that new favorite Cinnamon Roll recipe I was telling you about last week. I have made them two more times and my seminary class and family all agree—these are sooo good! I still love the Perfectly Wonderful Cinnamon Rolls found here, but that recipe makes a lot (3 dozen) and they are best eaten the day of (they dry out fast), but this new and improved recipe I am sharing today is so fluffy, tender and perfect even on the second day! This recipe makes 12 big rolls but can easily be doubled if needed and stays super tender and fluffy even the day after making them. Another bonus —they freeze beautifully! Seriously–these cinnamon rolls really are the BEST!! My new favorite, hands down!
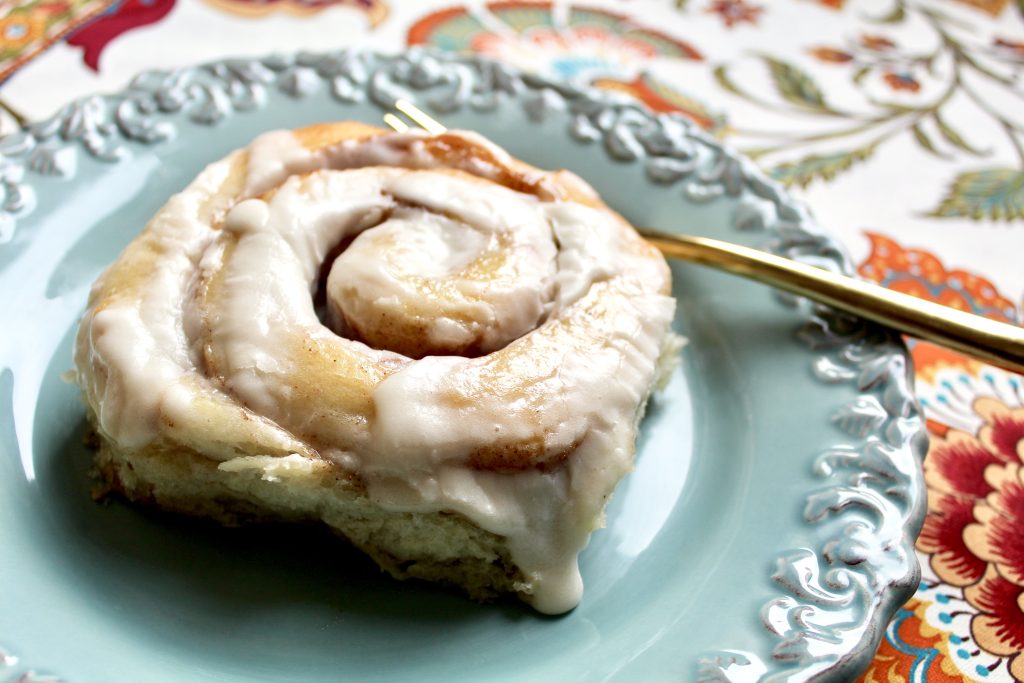
And there is a secret ingredient which gives a subtle difference in taste, and makes this recipe stand out even more! Have you ever used cardamom in your baking? I use it in my favorite granola recipe found here, and in this cinnamon roll recipe now too! You just add a little bit to the brown sugar and cinnamon mixture, but it tastes amazing! You could of course leave it out, but I would highly recommend giving it try!
If you are going to go to the trouble of making cinnamon rolls they better be good right?! I have been searching for the perfect Cinnamon Roll Recipe and I am thrilled to have finally found it!
Bookmark this one, pin it or email it to yourself so you don’t forget! Trust me when I say–these Cinnamon Rolls are divine and you will LOVE them!
Some Tips and Notes:
*Please do not disregard the directions to scald the milk for this recipe. I know a lot of people think that is just an unnecessary step in this day in age with pasteurized milk BUT in bread making, scalding the milk serves a more scientific purpose. The whey protein in milk can weaken gluten and prevent the dough from rising properly. Scalding the milk deactivates the protein so this doesn’t happen. SO it is worth the extra step. You want your cinnamon rolls to be light and fluffy and this will help!
*Use real butter
*Do not add too much flour–be careful of this! This dough may be stickier than you are used to. You need to add enough to be able to work with it of course, just skimp on the extra flour if you can! This will keep the rolls light, fluffy and chewy! YUM!!
Print
Favorite Cinnamon Rolls
Ingredients
First:
- 1/2 cup granulated white sugar
- 1/2 cup neutral-flavored oil ( I used sunflower–vegetable or canola)
- 2 cups milk, scalded (heat to just below a boil), I use 1% milk
- 4 cups flour (I use half bread flour and half all purpose)
- 1 tablespoon instant yeast
After dough (aka ‘ sponge” at this point) has risen(about 45 min – hour):
- 3/4 – 1 cup all-purpose flour (dough should be soft, but manageable )
- 1/2 teaspoon baking powder
- 1/2 teaspoon baking soda
- 1 1/2 teaspoons salt
- 8 tablespoons (1 stick) butter, softened
- 3/4 cup packed light brown sugar
- 1 tablespoon cinnamon
- 1/4 teaspoon cardamom (the secret ingredient–optional but so good)
Frosting:
- 3 ounces cream cheese, softened
- 6 tablespoons butter, softened
- Pinch salt
- 2 tablespoons milk or cream
- 1/2 teaspoon vanilla extract
- 1 3/4 cups powdered sugar
Instructions
- In the bowl of a stand mixer (or you can mix by hand), mix the sugar and oil together. Pour in the slightly cooled scalded milk and mix. Let the mixture sit for a few minutes if it is still pretty hot. You don’t want it to kill your yeast.
- Add the 4 cups flour and sprinkle the yeast on top of the flour. Mix until the flour is incorporated (but not too much more) and scrape down the sides of the bowl if needed. The dough will be loose and wet-looking. Cover the bowl and let it rest until it looks puffed up and about doubled in size. Depending on the temperature of your kitchen–this will take about 45 minutes to 1 hour.
- Add the remaining 3/4-1 cup flour, baking powder, baking soda and salt. Mix until the flour is completely incorporated and the dough looks smooth. It does not clean the sides of the bowl but it almost does. Add additional flour only if it is too sticky to handle. You should be able to shape it, but it will be a little bit sticky. Be careful to add just enough flour to make it workable and no more!
- Scrape the dough into a lightly greased bowl or container, cover, and let rise until doubled, about an hour.
- On a lightly floured mat or counter (I use about 2-3 tablespoons flour), roll or pat the dough into about a 18X12-inch rectangle. Spread the softened butter evenly across the top. Combine the brown sugar and cinnamon (and cardamom, if using) in a bowl and sprinkle the mixture on top of the butter and lightly pat down.
- Starting with the long side end, start rolling the rectangle into a log as tight as you can without pulling and stretching the dough. Roll the seam to the bottom and pat the log into an even thickness – it should be about 20 inches long or so at this point.
- Cut the log into 12 even pieces. Place the rolls on a parchment-lined cookie sheet (half sheet pan), and I like to tuck the loose end of the roll underneath (so they don’t come apart while baking). The rolls should be about an inch apart giving them room to rise. Cover with lightly greased plastic wrap and let rise until almost doubled, about an hour (once again, depending on the warmth of your kitchen–it will take longer if it is cold).
- Bake at 350 degrees F for 18-25 minutes until lightly golden and baked through. Let cool until warm before frosting.
- For the frosting, add the cream cheese and butter to a medium bowl. Whip with a handheld (or stand) mixer until creamy. Add the salt, milk or cream, and vanilla. Mix again. Add the powdered sugar and whip until light and fluffy.
- Spread the slightly warm rolls evenly with the icing. Serve immediately or let cool completely and serve at room temperature.
To freeze: Let cool completely and then wrap in individual sandwich bags. When ready to eat, remove from bag to plate and microwave on 50% power for 1 minute or so. Perfectly fresh and gooey!!
Recipe Source: adapted from Mel’s Kitchen Cafe
Im sorry that was confusing! I will try to fix that to make it more clear. It is the wet dough in the first step –you let it grow or sponge until it is puffy and has holes in it like a sponge–that is before you add the additional cup of flour and baking soda, salt etc. Does that make sense now? Hopefully! xoxo
What does it mean to allow the ingredients to “sponge?”