
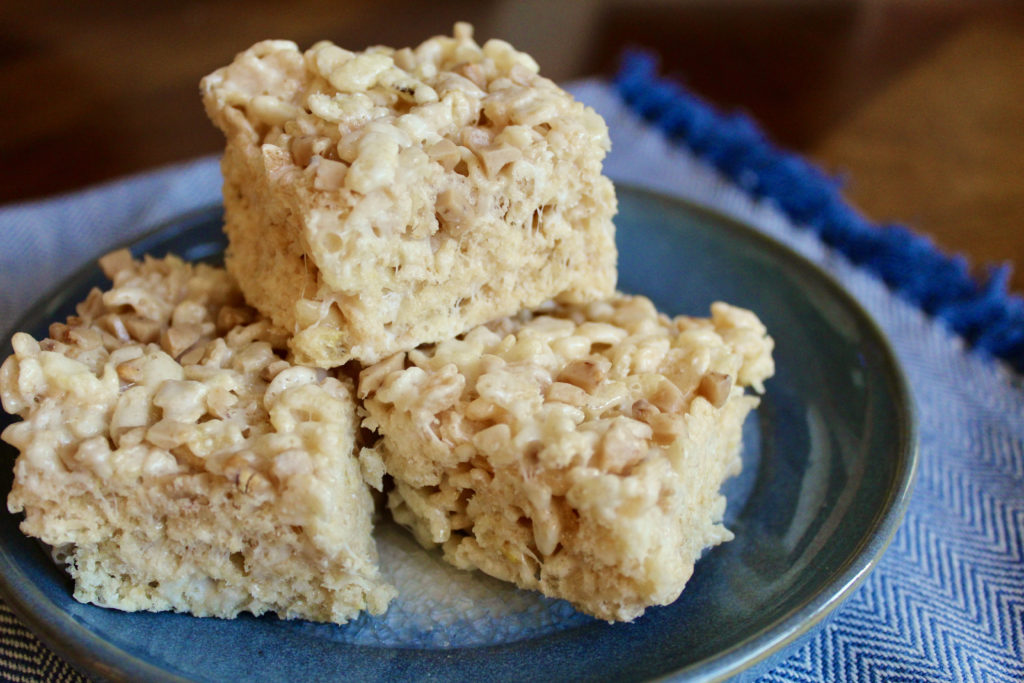
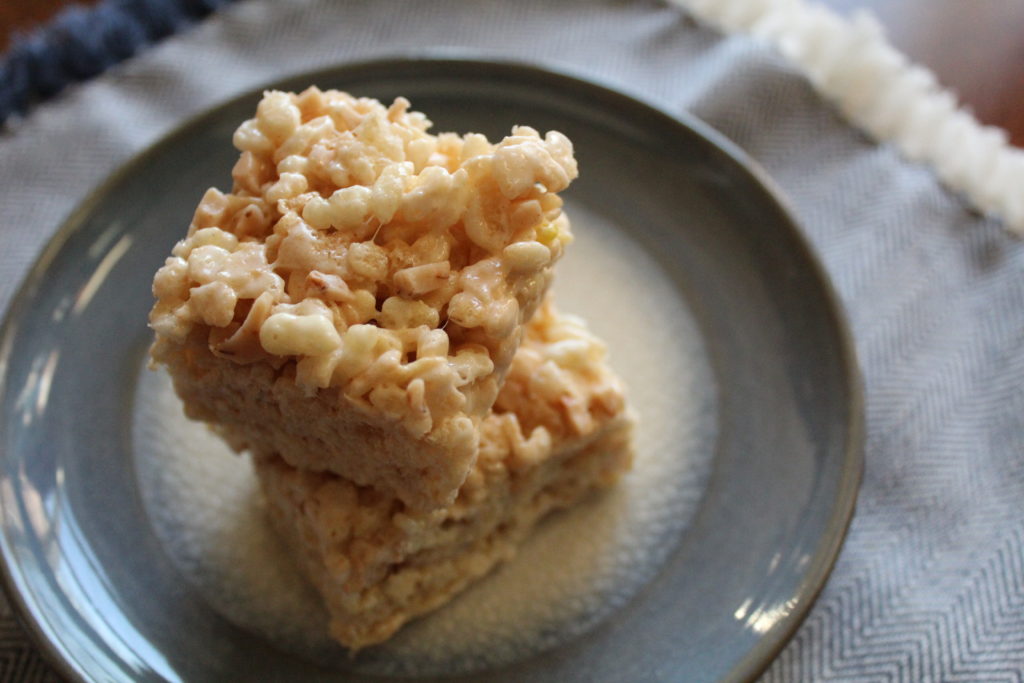
We are officially out of school today here in Chattanooga and my boys and I are so HAPPY! We are welcoming summer break with open arms and celebrating with these Brown Butter Rice Krispie Treats! All it takes is a few extra minutes to brown the butter and you can seriously take the wonderful classic treat to a whole new level of deliciousness! Simply browning the butter elevates these to something special. Trust me! These will be on repeat at my house this summer!
My tips for Brown Butter Rice Krispie Treats :
*I like to use a 9×13 pan so they are nice and thick, but if you want them a little thinner (or want more for a big crowd) use a rimmed baking sheet (cookie sheet).
*This recipe is double of the classic back-of-the-box recipe, so feel free to half it. I never do that because they freeze well, so if there are leftovers you can easily save them for later.
*If you want to make this GLUTEN FREE make sure you use a gluten free cereal. Sadly, Kellogs brand is NOTT gluten free. I use Malt o Meal brand –so check the box. It needs to specify that it is gluten free. You can also use rice chex, in a pinch.
Print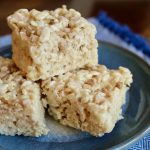
Brown Butter Rice Krispie Treats
Description
Simply browning the butter brings this classic treat to a whole new level!
Ingredients
- 8 ounces butter, salted, plus extra for pan
- 2 10 1/2-ounce bag marshmallows
- 1/2 teaspoon vanilla extract (optional–I like to add it)
- 1 12-ounce box Rice Krispies cereal (or aboout 12 cups)
Instructions
- Line a 9 x13 pan ( or a rimmed sheet pan, depending on how thick you like your rice krispie treats) with parchment paper or wax paper, or butter it well.
- In a large pot, melt butter over medium-low heat. It will melt, then foam, then turn clear golden and finally start to turn brown and smell nutty. Watch closely and stir often. Scraping the brown bits off the bottom.
- When butter is evenly browned, remove from heat and stir in marshmallows. The marshmallows should melt from the heat of the butter, but if needed return to low heat and stir until the marshmallows are fully melted and smooth. Stir in vanilla, if using.
- Off the heat, add cereal, and mix well, preferably with a silicone spoon or a spatula. Scrape into prepared pan and press down lightly. It helps to butter hands to {lightly} press mixture or save the butter wrappers and use those! Let cool, and cut into squares or bars. Enjoy!!
Notes
*If using unsalted butter add 1/4 tsp once it is melted.
*This recipe can easily be halved
*To make Gluten Free, use gluten free cereal–NOT Kellogs brand. Try Malt O Meal
*Rice Krispie treats freeze well. Place them in layers separated by wax paper in an airtight container; freeze for up to 6 weeks. Let the treats stand at room temperature for about an hour before serving.
Recipe Source: Adapted from New York Times
Leave a Reply