
Do you have certain recipes or food that will forever remind you of someone you love? That is how Classic Sandwich Bread is for me. My Grandma always made the BEST homemade bread!! Recently I spent a few days in the wonderful small town of Magrath, in southern Alberta, Canada for my sweet 98 year old Grandma’s funeral. She was the Matriarch of our large family and we all gathered to celebrate her life in the place that she was born and raised and raised her own family. She had 6 children, 24 grandchildren, 67 great grandchildren and 1 great great grandson (my cute Wesley)! Pretty incredible posterity and she prayed for each one of us every night by name (much to the chagrin of whoever was helping her to bed–it took a long time)! What a sweetheart.
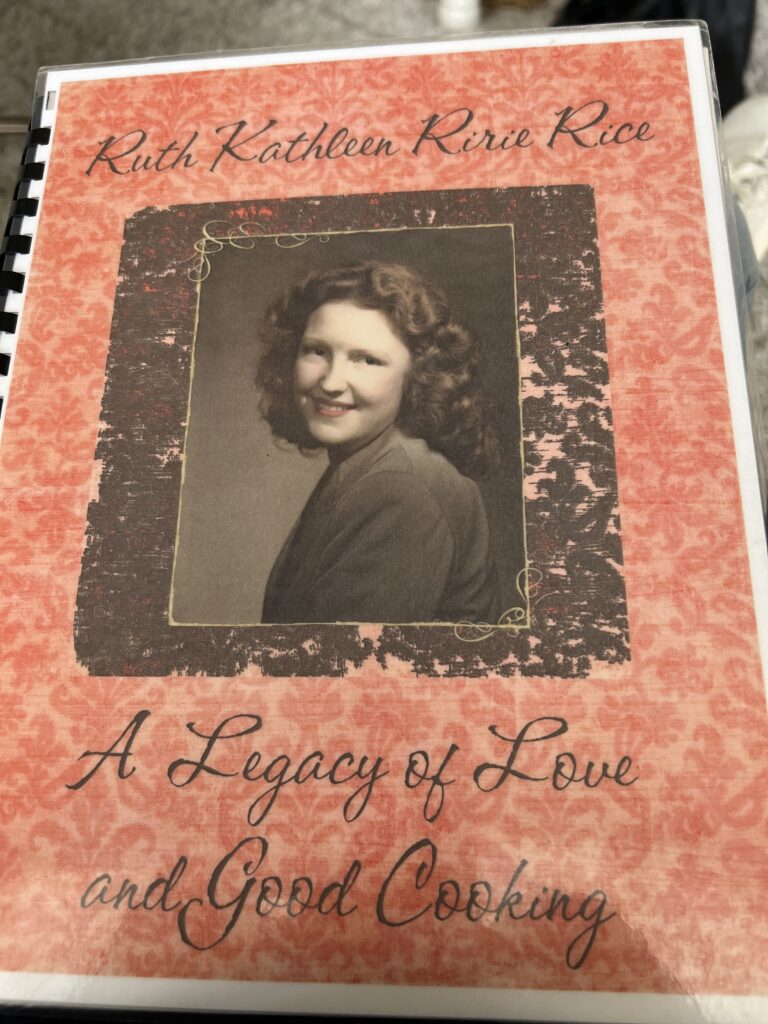
She was an incredibly hard working woman who loved to serve her family and we ALL loved her wonderful cooking and baking. She was a fabulous cook and always made everything from scratch. About 10 years ago, I had the idea to gather all her recipes into a cookbook for the family. When I asked my cute Grandma for copies of her recipes, she spent hours hand writing them all for me. I could not believe it. That must have taken forever, but I think she was happy that we were doing the cookbook. My Mom and Aunt gathered pictures and wrote a personal history with lots of pictures. It is such a treasure now!!
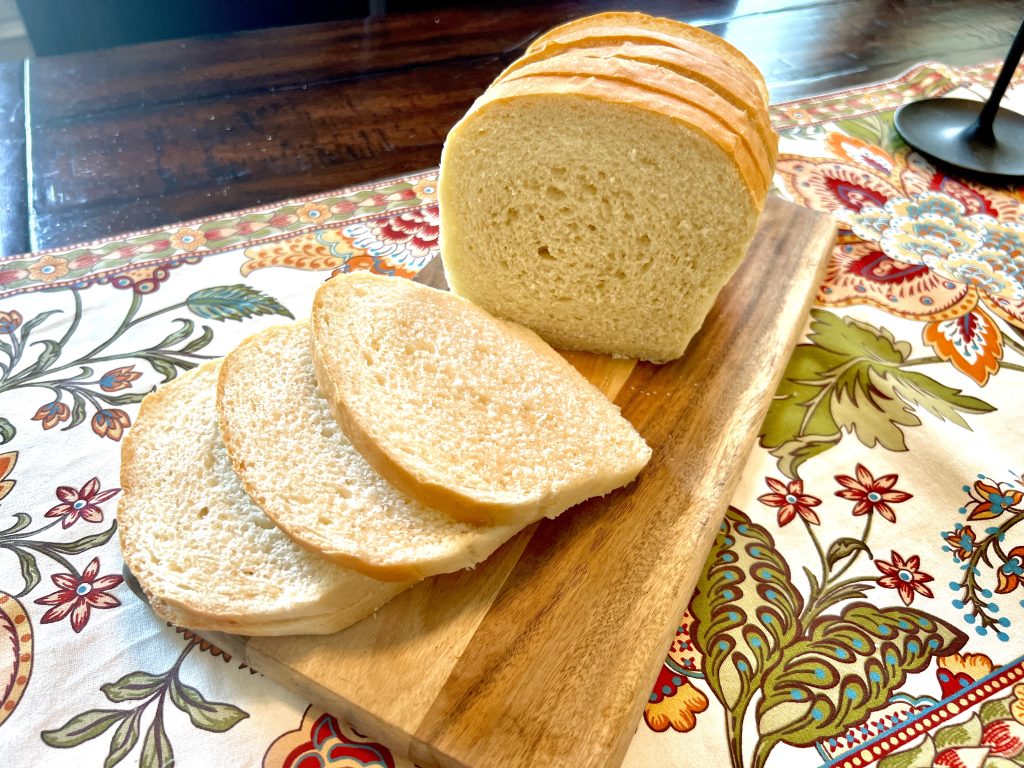
One thing that she made that was a favorite was her freshly baked bread! She made the best classic sandwich bread. Now this is not her exact recipe because she made 6 loaves at time and used some ingredients that most people don’t use any more like (powdered milk and shortening). I think using milk and the healthier coconut oil still makes a great loaf that is just as good as her original! So in honor of my wonderful Grandma Ruth Rice I am sharing this Classic Sandwich Bread recipe with you today!
Classic Sandwich Bread
Ingredients
- 1 1/2 cup hot water
- 1 1/2 cup milk (skim, 1%, 2% or whole)
- 1 1/2 Tablespoon active dry yeast
- 2/3 cup sugar or honey
- 1 Tablespoon salt
- 1 egg, beaten
- 1/3 cup coconut oil, melted
- 8 –9 cups of all-purpose flour or bread flour (see instructions below–#3)
Instructions
-
Combine hot water with cold milk to make a lukewarm liquid (“baby bottle temperature), yeast, and sugar. Mix gently. Cover and let the yeast proof (bubble up) for ten minutes. If yeast does not foam up then do not continue…this means your yeast is old and you need to start over with new yeast.
-
Add salt, egg, and melted coconut oil. Mix to combine.
-
Add 8 cups of the flour, and mix and see how the dough is. You are looking for it to start to pull away from the sides of the bowl. At this point the dough should be tacky but not too sticky. You can tell by touching it –if it is tacky but the dough doesn’t completely stick to your fingers, it is good and does not need more flour. If the dough sticks and clings to your fingers then add a 1//2 cup more and try touching it again. It is really important to not add too much flour! Getting the right amount of flour is the key to good bread. It takes some experience to easily recognize the right amount in the dough–so don’t give up! You will get it with some practice!
Knead the dough for 10-15 minutes. Cover with a clean kitchen towel or with a bowl lid or with a plastic bag or wrap . Let rise until it has doubled in size (about one hour).
-
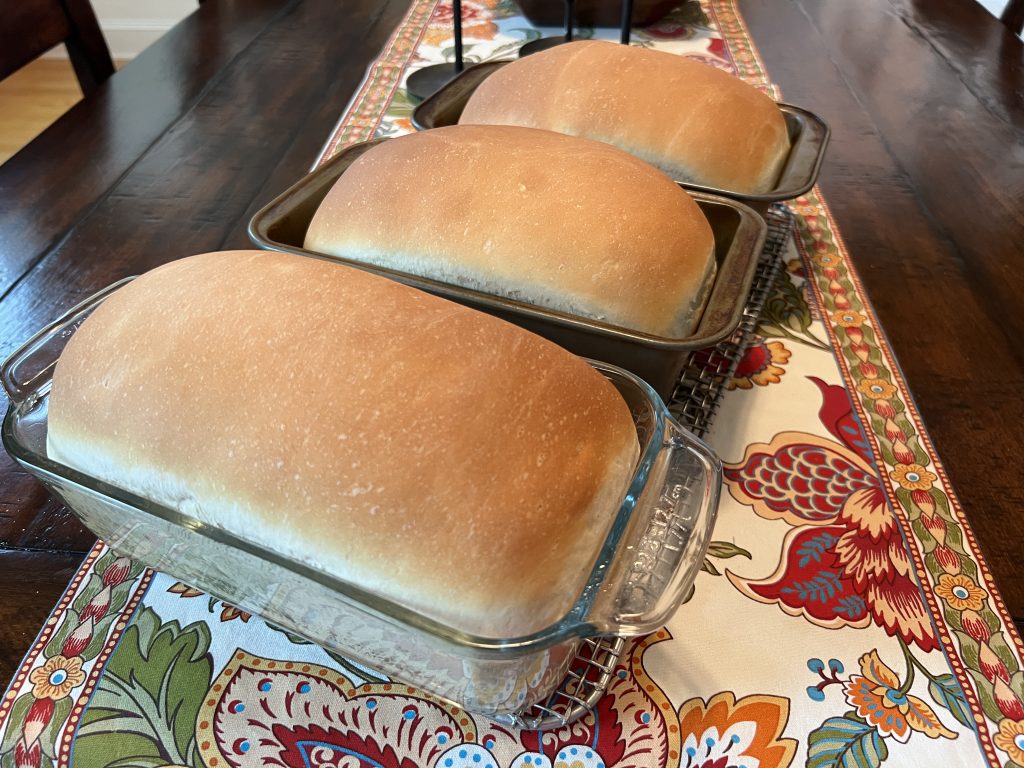
Deflate the dough by gently punching it down and transfer it to a clean, lightly oiled surface. Divide into 3 equal portions for 3 loaves, or 9 mini loaves. Form into the desired shape, and set on a greased cookie or greased loaf pan and cover with plastic wrap (spray it first with a nonstick cooking spray), or a clean dish towel. Allow to rise again until doubled in size. Preheat oven to 375° F
-
Bake.
– 3 large loaves bake at 375° F for 25-30 minutes or until the thermometer reads 180° F at the center of the loaf.
– 9 mini loaves bake at 375° F for 22-25 minutes or until the thermometer reads 180° F at the center of the loaf.Remove from oven and let cool. Remove bread from bread pans and onto a cooling rack immediately so they don’t condensate and get soggy. Spread tops with melted butter if you want.
-
Let bread/ rolls cool completely, then they can be stored in twist tie bread storage bags.* They will last well at room temperature for 4-5 days, but remember that they do not have any preservatives in them so they may start to mold around day 7. I recommend freezing whatever won’t be used within 4-5 days.
HI Heather,
Where does the recipe say gluten free and vegan? It is not. So sorry! I have a son with celiac disease and have tried many GF bread recipes but they just aren’t great or worth the effort to me. My son loves the Schar brand –I get a double pack at Costco for a good price.
I’m looking for a gluten free bread. I was drawn to this recipe because it says gluten free & vegan. Doesn’t appear that way when I look at ingredients. Sorry and I missing a substitution somewhere? Thanks